How to Make a Font From an Image (Beginner-Friendly Tutorial)
Already have artwork? You don't need to start from scratch. Here's how to convert an image into a font that actually looks good.
You've got a logo. Or a photo of a sign. Or a scan of a vintage book cover. Whatever it is, you don't want to redraw it from scratch — you want to use it. The good news: turning an existing image into a font is one of the fastest things you can do with modern font tools, as long as you start with the right kind of image.
This guide is for people who already have artwork and just want to know: can I get a font out of this? Spoiler: usually yes, sometimes with a few caveats. Here's the short version, then the details.
The fast path: upload your image to a tool like Typegrove, let it auto-vectorize the shapes, assign characters, and export your .otf. The whole thing takes 5–10 minutes for a small set of glyphs.
Will this actually work for my image?
Image-to-font works best when the source has:
- High contrast. Dark shapes on a light background, or vice versa.
- Clean edges. Letters that aren't blurry, smeared, or pixelated.
- Reasonable resolution. Aim for at least 1024px on the long edge.
- Separated characters. Letters that aren't touching each other.
If any of those are missing, you can still get a font — but you'll spend more time cleaning up the result. A blurry phone photo of a chalkboard will work, but expect to redraw a few letters by hand.
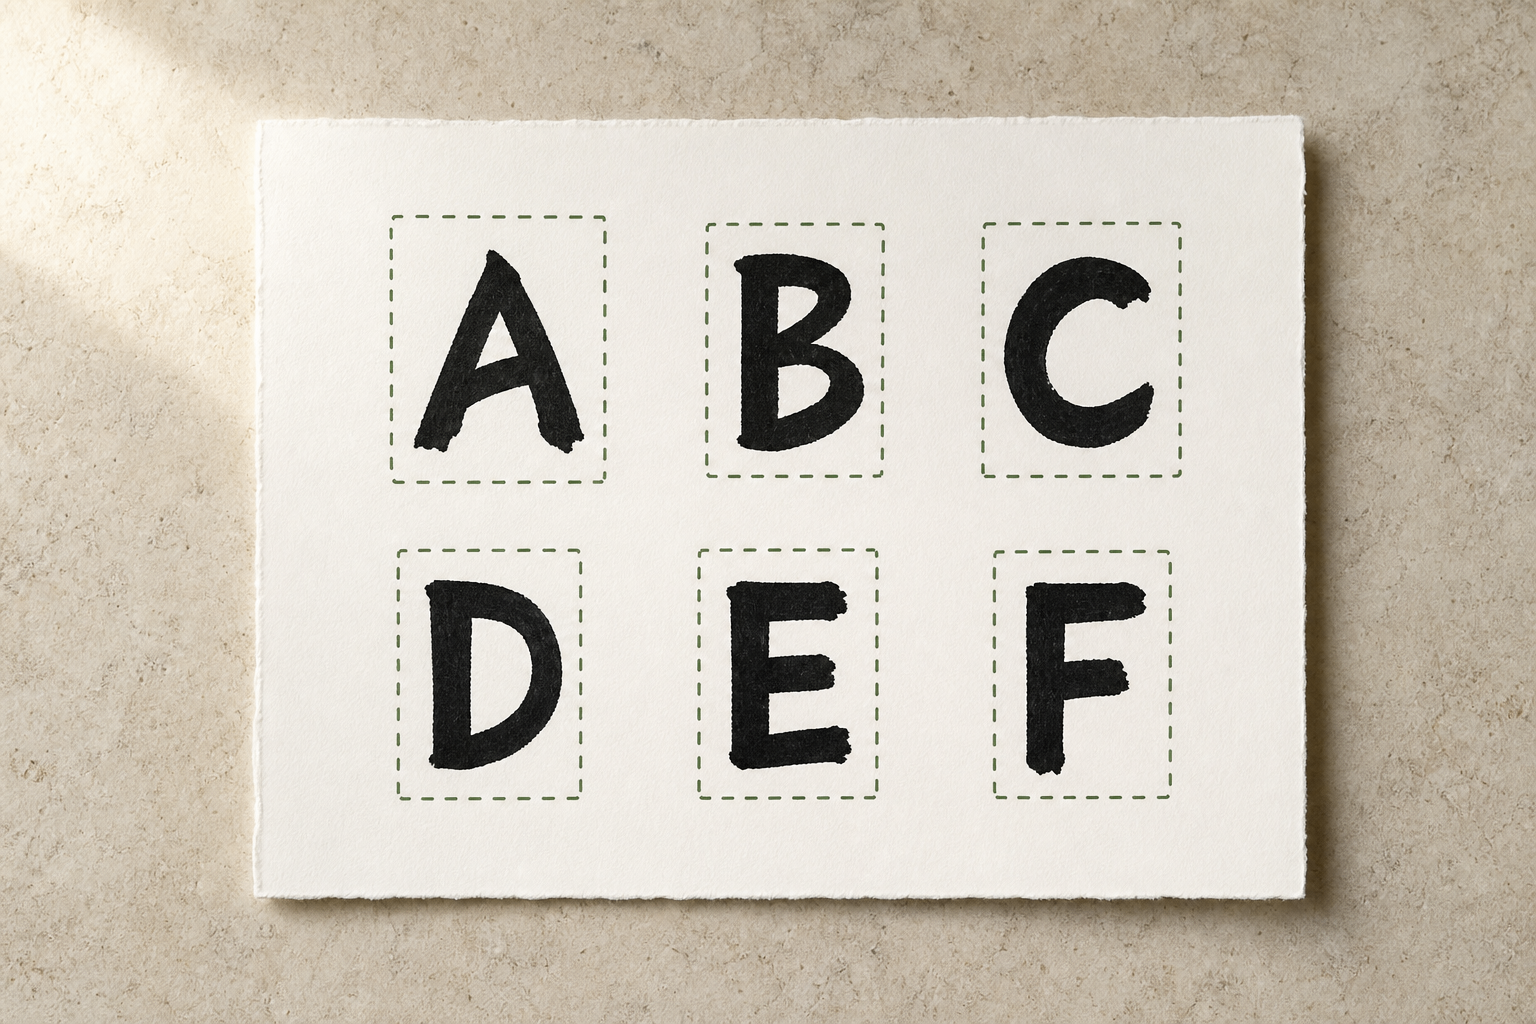
Vector vs raster: what's the difference, and why does it matter?
Quick sidebar that will save you grief later:
- Raster images (.png, .jpg, .heic) are made of pixels. Zoom in and they get blurry. Photos and screenshots are raster.
- Vector images (.svg, .pdf, .ai) are made of math. Zoom in and they stay crisp. Logos exported from Illustrator or Figma are vector.
Fonts are vector. So if your source is already a vector file (.svg), you're starting in the right format and the conversion is essentially free. If your source is raster, the font tool needs to vectorizeit — trace the pixel shapes into mathematical paths. That step is where quality is won or lost.
The takeaway: if you have the original .svg of your artwork, use it. If all you have is a .jpg, that's fine — just give the vectorizer a good source to work with.
Step 1: Prep your image
Crop to the relevant content
If your image has letters AND a bunch of other stuff (background textures, photos, decorations), crop down to just the letters. Less noise = cleaner vectorization.
Boost the contrast if needed
Open the image in any editor (even your phone's built-in one), bump contrast and brightness so the letters are clearly distinguishable from the background. Don't go nuclear — you don't want to lose detail in thin strokes.
Convert to grayscale (optional but helpful)
If your tool gives you a "remove background color" option, you can skip this. Otherwise, converting to pure black-and-white before upload makes auto-detection more reliable.
Step 2: Upload and let the vectorizer work
Drag the image into your font tool. Most modern tools (Typegrove included) will:
- Detect the silhouette of each shape
- Trace it into vector paths
- Auto-isolate each character into its own glyph
You'll usually see vectorization controls — a "detail level" slider, a smoothing parameter, sometimes a color count. The defaults are fine for most images. If your strokes look chunky, lower the smoothing. If you see speckles or noise, increase the noise filter.
Step 3: Assign characters
Now go through each detected glyph and assign it to a character. If your source had a full alphabet, this is fast. If it only had your company name (six letters), you'll only have six glyphs — that's still a totally usable font, just for very specific use cases.
Tip: if you're making a font from a logo or wordmark, you might only want to map those exact letters. The result is a "branded" font you can use to retype your wordmark in any size, anywhere.
Step 4: Tweak and export
Preview your font with real text. Adjust spacing, fix any obvious gaps, and export the .otf. Install it like any other font. You're done.
When this method is the right call
Image-to-font is the fastest workflow when:
- You already have artwork and don't want to start over
- You're recreating a vintage typeface from a scan
- You have a logo or wordmark you want to extend into a usable font
- You're working from someone else's hand-lettering (with permission!)
It's the wrong call when:
- The image is low-resolution or blurry
- Letters are touching or overlapping heavily
- You want full creative control — drawing fresh in vector software gives you more
For starting from scratch on iPad or paper, see our guides on creating a font from your drawings and turning your handwriting into a font.
Picking a tool for image-to-font
Not every font generator handles raster input well. Some only accept vectors, which means you'd need to vectorize separately first. We compare the strongest options in our AI font generator roundup and a head-to-head Fontself vs Calligraphr vs Typegrove comparison. The short answer: Typegrove and Calligraphr both handle raster natively; Fontself wants vectors.
Frequently asked questions
What image format works best for making a font?+
SVG is best — it's already vector. For raster sources, PNG with a transparent background is ideal. JPG works fine for photographed or scanned letters as long as contrast is high.
Can I make a font from a logo image?+
Yes. If your logo contains letterforms, you can extract those into glyphs and create a small custom font that matches the logo style. It's a popular trick for keeping brand consistency in long-form text.
What resolution does my image need to be?+
Aim for at least 1024px on the long edge. Higher is better for raster sources. SVGs are resolution-independent so any size works.
What if my letters are touching each other in the image?+
Most tools will detect them as one giant shape. You can either re-photograph with more spacing, manually erase the connections in an image editor, or split them inside the font tool's editor.
Can I make a color font from a colorful image?+
Yes — modern tools like Typegrove support multi-color font formats (SVG-in-OTF), which preserve the original colors of your artwork in the final font. Not every app renders color fonts, but Figma, Photoshop, and modern browsers do.
Ready when you are
Turn your work into a font in minutes.
Drag in your drawings, handwriting, or images. Get an installable .otf ready for any app — Figma, Photoshop, Word, your website.
Try Typegrove freeNo credit card. No download. Works in your browser.
Keep reading
More guides on turning what you make into fonts.
How to Turn Your Handwriting Into a Font (Free + Easy Method)
Your handwriting is unmistakably you. Here's the simplest way to turn it into a real, installable font you can type with anywhere.
Read articleTutorialHow to Create a Font From Your Drawings (Step-by-Step Guide)
From sketchbook scribbles to a working typeface — here's exactly how illustrators and iPad artists turn drawings into fonts.
Read articleComparisonBest AI Font Generators (And Which Ones Are Actually Worth It)
We tried the most popular AI font generators so you don't have to. Here's which ones are genuinely useful — and which to skip.
Read articleComparisonFontself vs Calligraphr vs Typegrove: Which Is Better?
Three of the most-searched font creation tools, side by side. Here's how Fontself, Calligraphr, and Typegrove actually stack up.
Read article